Introduction
Winter is here, and with it comes the magic of snow-covered landscapes and cozy days indoors. But have you ever thought about turning that fresh, fluffy snow into a delicious treat? Enter snow cream—a simple, fun, and nostalgic dessert that transforms snow into a creamy, sweet delight. Whether you’re looking for a fun activity to do with the kids or a unique way to celebrate a snowy day, this snow cream recipe is the perfect solution.
In this post, we’ll show you how to make snow cream from fresh snow with just a few basic ingredients. You’ll learn everything from sourcing clean snow to customizing your snow cream recipe with delicious flavors. Plus, we’ll share tips to ensure your snow cream recipe turns out perfectly every time. So, grab a bowl, head outside, and let’s turn winter’s gift into a tasty treat!
Table of Contents
H2: 2. Ingredients You’ll Need for Snow Cream
Making snow cream recipe is incredibly simple, and the ingredients are likely already in your kitchen. Here’s a breakdown of what you’ll need, along with tips and ideas to customize your snow cream recipe to perfection.
H3: Essential Ingredients
- Fresh, Clean Snow
- The star of the show! Fresh snow is the base of this recipe, so it’s important to ensure it’s safe to eat.
- Tips for Sourcing Clean Snow:
- Collect snow from undisturbed areas, away from roads, sidewalks, or places where animals may have been.
- Use a clean bowl or container to gather the snow, and avoid the top layer (which may contain dirt or debris).
- If you’re unsure about the snow’s cleanliness, let it melt and boil it to purify it before refreezing.
- Milk or Cream
- Milk or cream adds the creamy texture that turns snow into “ice cream.”
- Options:
- Whole milk, half-and-half, or heavy cream for a richer texture.
- Non-dairy alternatives like almond milk, oat milk, or coconut milk for a vegan version.
- Sugar or Sweetener
- Sugar is essential for sweetness, but you can adjust the amount to your taste.
- Options:
- Granulated sugar, powdered sugar, or maple syrup.
- For a healthier twist, try honey, agave syrup, or a sugar substitute like stevia.
- Vanilla Extract (Optional)
- A splash of vanilla extract enhances the flavor and gives your snow cream recipe a classic ice cream taste.
- Tip: Use pure vanilla extract for the best flavor, or experiment with other extracts like almond or peppermint.
H3: Optional Add-Ins for Flavor Variations
Once you’ve mastered the basic snow cream recipe, it’s time to get creative! Here are some fun and delicious add-ins to customize your snow cream:
- Cocoa Powder for Chocolate Snow Cream
- Add 1-2 tablespoons of unsweetened cocoa powder to the milk and sugar mixture for a rich chocolate flavor.
- Top with chocolate chips or a drizzle of chocolate syrup for extra indulgence.
- Fruit Syrups or Extracts
- Stir in a splash of strawberry, raspberry, or blueberry syrup for a fruity twist.
- Alternatively, use fruit extracts like lemon, orange, or banana for a burst of flavor.
- Fresh fruit purees (like mashed strawberries or bananas) also work well.
- Sprinkles or Toppings for Extra Fun
- Turn your snow cream into a festive treat with colorful sprinkles, crushed cookies, or candy pieces.
- Drizzle with caramel sauce, peanut butter, or Nutella for a decadent touch.
- Add a dollop of whipped cream and a cherry on top for a classic sundae vibe.
- Other Creative Ideas
- Cinnamon Sugar: Add a pinch of cinnamon for a warm, spiced flavor.
- Matcha Powder: For a unique twist, mix in matcha powder for a green tea snow cream.
- Cookie Dough: Stir in small chunks of edible cookie dough for a fun texture.

3. How to Make Snow Cream: Step-by-Step Instructions
Making snow cream recipe is a fun and easy process that takes just a few minutes. Follow these simple steps to create a delicious winter treat that everyone will love.
Step 1: Collect Fresh Snow
The first step is gathering fresh, clean snow. Since snow is the main ingredient, it’s important to ensure it’s safe to eat.
- Tips for Ensuring the Snow is Clean and Safe to Use:
- Choose snow from undisturbed areas, such as a clean backyard or open field, away from roads, sidewalks, or places where animals may have been.
- Avoid the top layer of snow, as it may contain dirt or debris. Scoop snow from the middle layer instead.
- Use a clean bowl, container, or baking sheet to collect the snow. Avoid using gloves or hands that may have touched other surfaces.
- If you’re unsure about the snow’s cleanliness, let it melt and boil it to purify it before refreezing.
Step 2: Mix the Base Ingredients
Once you’ve collected your snow, it’s time to prepare the creamy base that will transform it into snow cream recipe.
- Combining Milk, Sugar, and Vanilla in a Bowl:
- In a large mixing bowl, combine 1 cup of milk or cream (adjust based on desired creaminess), 1/4 to 1/2 cup of sugar (depending on your sweetness preference), and 1 teaspoon of vanilla extract.
- Whisk the mixture thoroughly until the sugar is completely dissolved. This ensures a smooth and even flavor throughout the snow cream.
- Pro Tip: If you’re using cocoa powder or other dry flavorings, add them to the base mixture at this stage and whisk well.
Step 3: Add the Snow
Now comes the fun part—turning your snow into creamy, dreamy snow cream recipe!
- Gradually Mix Snow into the Base Until Creamy:
- Start by adding 4-6 cups of fresh snow to the base mixture, one cup at a time.
- Gently fold the snow into the liquid mixture using a spatula or large spoon. Be careful not to overmix, as this can cause the snow to melt too quickly.
- Continue adding snow until the mixture reaches your desired consistency. It should be thick and creamy, similar to soft-serve ice cream.
- Pro Tip: If the mixture becomes too runny, add more snow. If it’s too thick, add a splash of milk or cream.
Step 4: Customize Your Snow Cream
This is where you can get creative and make your snow cream recipe uniquely yours!
- Adding Optional Flavors or Toppings:
- For chocolate snow cream, mix in 1-2 tablespoons of cocoa powder into the base before adding snow.
- For fruity snow cream, stir in a few tablespoons of fruit syrup, jam, or fresh fruit puree.
- Add a pinch of cinnamon, nutmeg, or pumpkin spice for a warm, spiced flavor.
- Top your snow cream with sprinkles, crushed cookies, chocolate chips, or a drizzle of caramel or chocolate sauce.
- Pro Tip: Let everyone customize their own bowl with their favorite toppings for a fun, interactive experience!
Step 5: Serve and Enjoy!
Snow cream recipe is best enjoyed immediately after making it, as it can melt quickly.
- Best Ways to Serve Snow Cream Immediately:
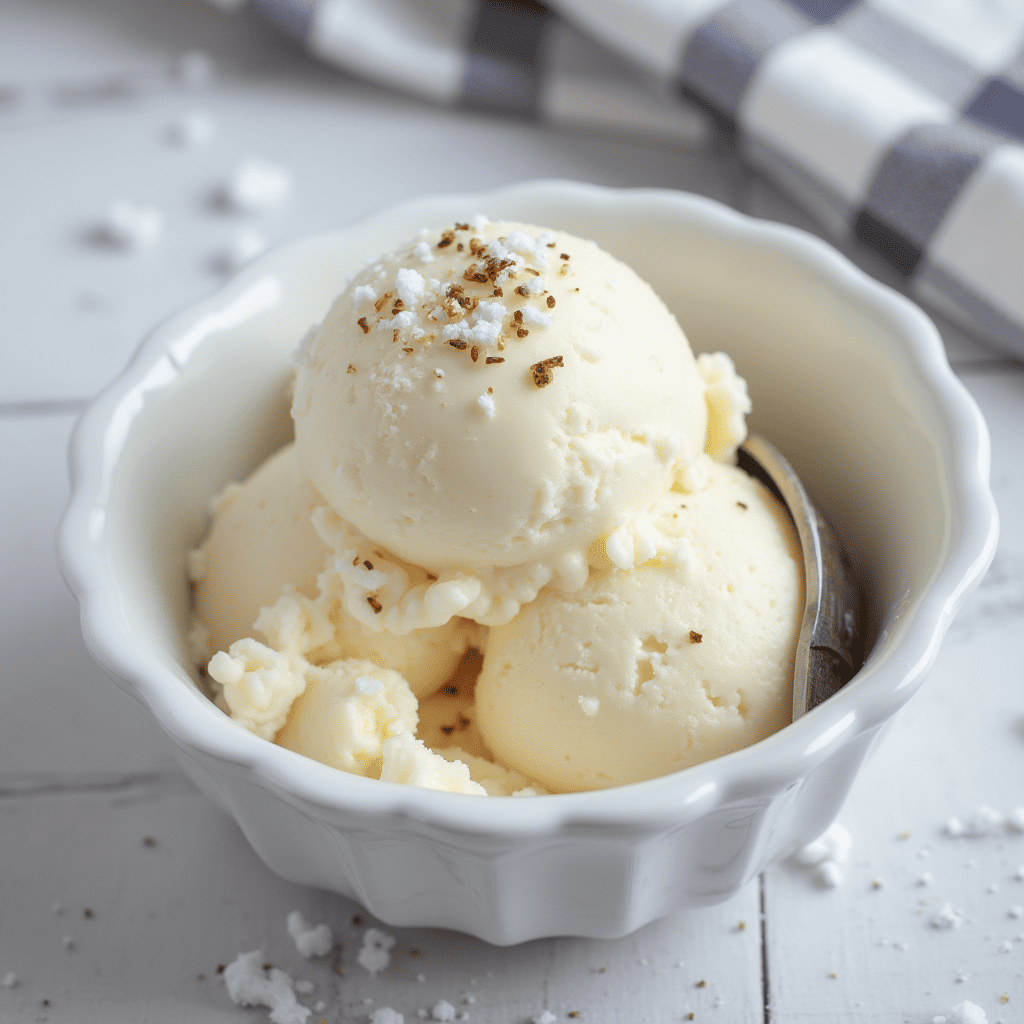
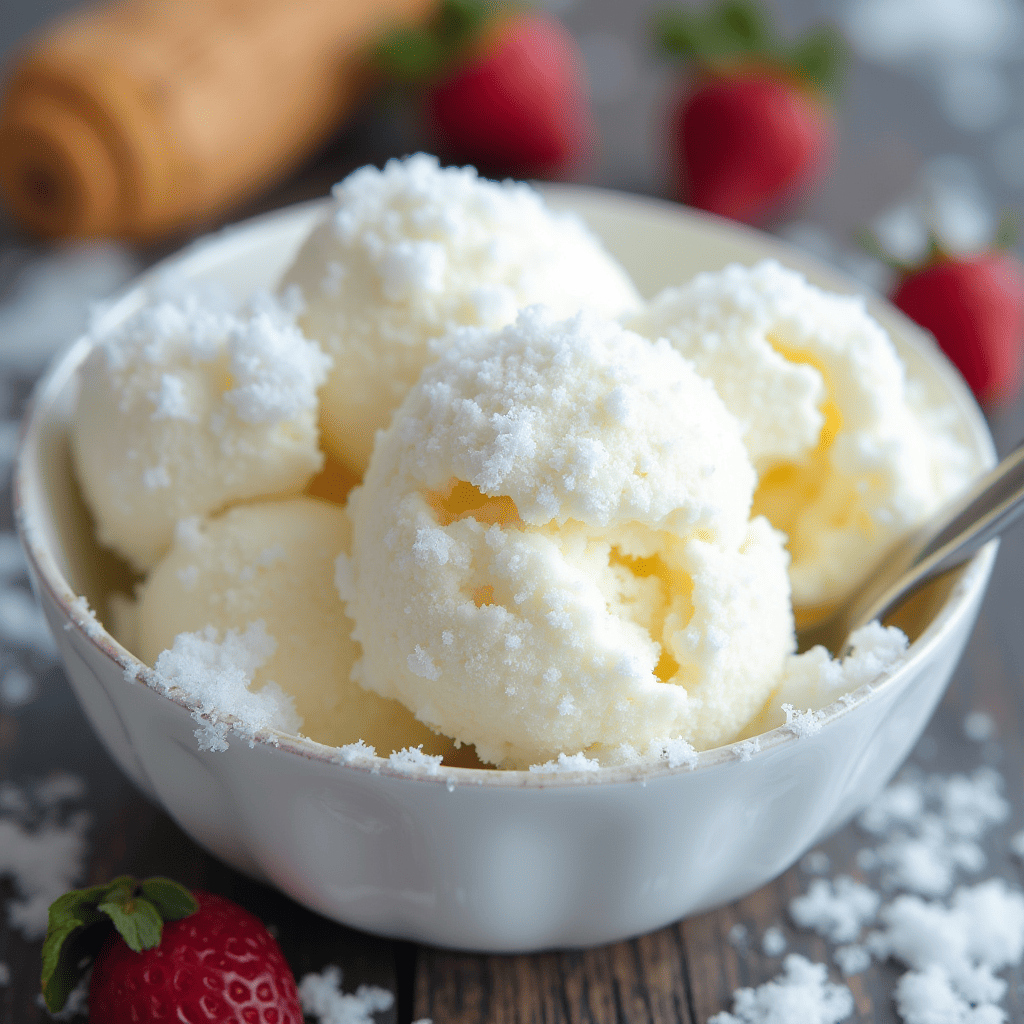
- Scoop the snow cream into bowls or cones for a classic ice cream experience.
- Garnish with additional toppings like whipped cream, fresh fruit, or a cherry on top.
- Serve with a side of cookies or brownies for an extra-special treat.
- Pro Tip: If you have leftover snow cream (though it’s unlikely!), you can store it in the freezer for a short time. Keep in mind that the texture may change as it refreezes.
4. Tips for Perfect Snow Cream Every Time
Making snow cream recipe is simple, but a few expert tips can take your winter treat from good to great. Follow these guidelines to ensure your snow cream recipe is delicious, safe, and fun to make every time.
Use Fresh, Clean Snow
The quality of your snow cream recipe depends largely on the snow you use. Here’s how to ensure your snow is safe and perfect for eating.
- How to Identify Safe Snow for Consumption:
- Choose the Right Location: Collect snow from clean, undisturbed areas like a backyard, open field, or park. Avoid snow near roads, sidewalks, or areas where animals may have been.
- Avoid the Top Layer: The top layer of snow can contain dirt, debris, or pollutants. Scoop snow from the middle layer instead.
- Check the Color: Fresh, clean snow should be pure white. Avoid yellow, brown, or gray snow, as these colors indicate contamination.
- Use Clean Tools: Gather snow with a clean bowl, container, or baking sheet. Avoid using gloves or hands that may have touched other surfaces.
- When in Doubt, Boil It: If you’re unsure about the snow’s cleanliness, let it melt, boil it to purify it, and then refreeze it before use.
Adjust Consistency
The texture of your snow cream recipe can make or break the experience. Here’s how to get it just right.
- Adding More Snow or Milk to Achieve the Desired Texture:
- If It’s Too Runny: Gradually add more snow, one cup at a time, and mix gently until the mixture thickens to a soft-serve ice cream consistency.
- If It’s Too Thick: Add a splash of milk, cream, or a non-dairy alternative to loosen the mixture. Stir until smooth and creamy.
- Pro Tip: Work quickly to prevent the snow from melting too much, as this can affect the texture.
H3: Experiment with Flavors
One of the best things about snow cream recipe is how customizable it is. Get creative and try new flavor combinations!
- Creative Ideas for Unique Snow Cream Variations:
- Chocolate Lovers: Mix in cocoa powder or melted chocolate for a rich, indulgent treat. Top with chocolate chips or a drizzle of chocolate syrup.
- Fruity Delights: Add fruit syrups, jams, or fresh fruit purees like strawberry, raspberry, or mango. You can also use fruit extracts like lemon or orange for a zesty twist.
- Spiced Warmth: Stir in a pinch of cinnamon, nutmeg, or pumpkin spice for a cozy, spiced flavor.
- Matcha Magic: Add matcha powder for a unique green tea snow cream.
- Cookie Dough Bliss: Mix in small chunks of edible cookie dough for a fun, textured treat.
- S’mores Style: Add crushed graham crackers, mini marshmallows, and a drizzle of chocolate sauce for a campfire-inspired dessert.
- Pro Tip: Set up a “snow cream bar” with various toppings and let everyone create their own custom flavors!
H3: Serve Immediately
Snow cream recipe is a fleeting treat that’s best enjoyed fresh. Here’s why timing matters and how to serve it right.
- Why Snow Cream is Best Enjoyed Right After Making:
- Snow cream melts quickly because snow is essentially frozen water. The longer it sits, the more it will liquefy, losing its creamy texture.
- Serving it immediately ensures the perfect consistency—thick, creamy, and refreshing.
- Pro Tip: If you need to store it briefly, place it in the freezer, but be aware that the texture may become icy as it refreezes.
- Best Ways to Serve Snow Cream:
- Scoop it into bowls or cones for a classic ice cream experience.
- Top with whipped cream, sprinkles, or fresh fruit for a festive touch.
- Pair it with cookies, brownies, or hot chocolate for a complete winter dessert spread.
- Serve it as a fun activity during winter parties or family gatherings.
H2: 5. Frequently Asked Questions About Snow Cream
Snow cream recipe is a fun and unique treat, but it’s natural to have questions about how to make it safely and creatively. Here are answers to some of the most common questions about snow cream recipe.
H3: Is Snow Safe to Eat?
Many people wonder if it’s safe to eat snow, especially when using it in recipes like snow cream recipe.
- Guidelines for Ensuring Snow is Clean and Safe:
- Source Matters: Collect snow from clean, undisturbed areas like a backyard or open field. Avoid snow near roads, sidewalks, or areas where animals may have been.
- Check the Color: Fresh, clean snow should be pure white. Avoid yellow, brown, or gray snow, as these colors indicate contamination.
- Avoid the Top Layer: The top layer of snow can contain dirt or debris. Scoop snow from the middle layer instead.
- When in Doubt, Boil It: If you’re unsure about the snow’s cleanliness, let it melt, boil it to purify it, and then refreeze it before use.
- Pro Tip: Teach kids about safe snow collection practices to make the activity both fun and educational.
H3: Can I Make Snow Cream Without Dairy?
Absolutely! Snow cream recipe can easily be made dairy-free to accommodate dietary preferences or restrictions.
- Alternatives Like Almond Milk or Coconut Milk:
- Use unsweetened almond milk, oat milk, coconut milk, or any other non-dairy milk as a substitute for regular milk or cream.
- For a richer texture, try using canned coconut milk or cashew milk.
- Adjust the sweetness with your preferred sweetener, such as maple syrup, agave, or stevia.
- Pro Tip: Add a splash of vanilla extract or cocoa powder to enhance the flavor of dairy-free snow cream.
H3: How Long Does Snow Cream Last?
Snow cream recipe is a treat best enjoyed immediately, but here’s what you need to know about storing it.
- Why It’s Best Eaten Fresh and Not Stored:
- Snow cream is made with snow, which melts quickly at room temperature. Storing it in the freezer can cause it to become icy and lose its creamy texture.
- If you must store it, place it in an airtight container in the freezer for up to 1-2 hours. However, expect the texture to change as it refreezes.
- Pro Tip: Make only as much snow cream as you plan to eat right away to enjoy it at its best.
H3: Can I Make Snow Cream Without Snow?
No snow? No problem! Here are some alternatives for making a similar treat.
- Alternatives for Those Without Access to Fresh Snow:
- Crushed Ice: Use clean, finely crushed ice as a substitute for snow. Blend it with the other ingredients in a food processor or blender until creamy.
- Shaved Ice: Purchase store-bought shaved ice or make your own using a shaved ice machine.
- Store-Bought Snow: Some specialty stores sell clean, food-grade snow for culinary use.
- Pro Tip: If using ice, make sure it’s made from purified water to ensure safety and taste.
Conclusion
Snow cream recipe is more than just a dessert—it’s a celebration of winter’s magic and a chance to create lasting memories with loved ones. With just a few simple ingredients and a bit of creativity, you can turn fresh snow into a delicious treat that’s fun for all ages.
We hope this guide has inspired you to try making snow cream recipe at home. Whether you stick to the classic recipe or experiment with unique flavors and toppings, the possibilities are endless. Don’t forget to share your snow cream creations with us! Tag us in your snow cream photos on social media and let us know how your winter treat turned out.
Print
Snow Cream Recipe: How To Make Ice Cream From Fresh Snow
- Total Time: 10 minutes
- Yield: 4 servings 1x
Ingredients
-
8 cups of clean, freshly fallen snow
-
1 cup of milk (any variety: whole, almond, or oat)
-
1/4 cup of granulated sugar (adjust to taste)
-
1 teaspoon of pure vanilla extract
-
Optional toppings: chocolate syrup, sprinkles, crushed cookies, or fruit
Instructions
-
Collect Snow: Gather 8 cups of clean, freshly fallen snow. Ensure the snow is untouched and free from dirt or debris.
-
Mix Ingredients: In a large bowl, combine the milk, sugar, and vanilla extract. Stir until the sugar is fully dissolved.
-
Add Snow: Gradually fold the snow into the milk mixture, stirring gently until the mixture reaches a creamy, ice cream-like consistency. Be careful not to overmix, as the snow will melt quickly.
-
Serve Immediately: Scoop the snow cream into bowls or cones. Add your favorite toppings, such as chocolate syrup, sprinkles, or crushed cookies.
-
Enjoy: Eat right away for the best texture and flavor!
-
Notes
-
Snow Quality: Always use clean, freshly fallen snow. Avoid snow that has been on the ground for too long or is near roads or sidewalks.
-
Customization: Feel free to experiment with flavors by adding cocoa powder, fruit purees, or flavored extracts like almond or peppermint.
-
Storage: Snow cream is best enjoyed immediately, as it will melt quickly. It cannot be stored for later.
-
- Prep Time: 10 minutes
- Cook Time: 0 minutes
- Category: Dessert
- Method: No-Cook
- Cuisine: American
Nutrition
- Calories: 80
- Fat: 1g
- Carbohydrates: 16g
- Protein: 2g

